English
 русский
 Español
 简体中文
简体中文

Unified Thread Standard (UTS): This is the most common thread standard in the United States and Canada. It includes coarse (UNC) and fine (UNF) threads.
ISO Metric Thread: This is the standard thread type used in most other countries, including Europe and Asia. It includes coarse (M) and fine (MF) threads.
British Standard Whitworth (BSW): This thread type was commonly used in the United Kingdom and other Commonwealth countries. However, it has largely been replaced by metric threads.
Unified Miniature Thread (UNM): This thread type is used for very small screws and fasteners.
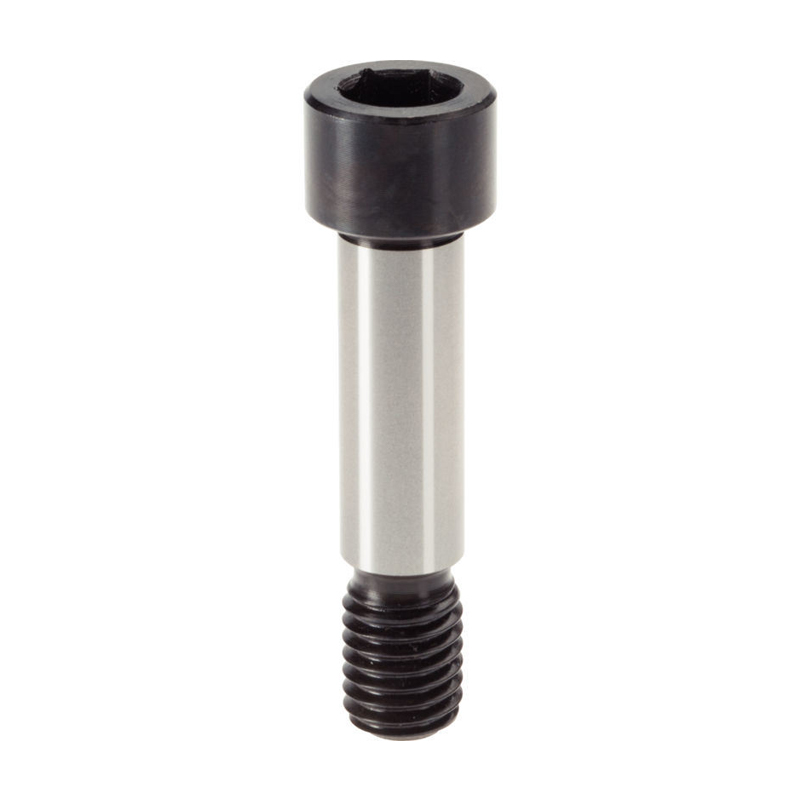
As for standard sizes, hex socket screws are available in a wide range of diameters (from small sizes like #0 to larger sizes like 1 inch or more) and lengths, depending on the specific application requirements.
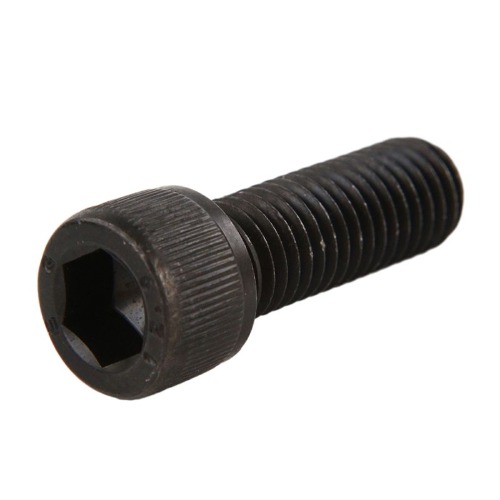
To properly install and tighten hex socket screws, follow these steps:
Choose the appropriate size and type of hex socket screw for your application, considering factors such as diameter, length, thread type, and material.
Ensure that the mating surfaces are clean and free of debris. If necessary, use thread-locking adhesive or lubricant to facilitate installation and prevent loosening.
Insert the hex socket screw into the pre-drilled hole or threaded insert, ensuring that it aligns properly with the mating threads.
Select the correct size of hex key or Allen wrench that matches the socket size of the screw. Using an incorrect size can result in stripping the socket or damaging the screw head.
Apply even pressure to the hex key or wrench while turning the screw clockwise to tighten it. Avoid over-tightening, as this can damage the screw or the mating threads.
After tightening the screw, visually inspect the alignment and ensure that it sits flush with the mating surface. Use a torque wrench if precise torque values are required for your application.
Repeat the installation process for additional screws as needed, ensuring that they are evenly distributed and properly tightened to achieve the desired clamping force.